How to organize a small kitchen counter for everyday cooking
· Editorial team newsfromhouston24.com
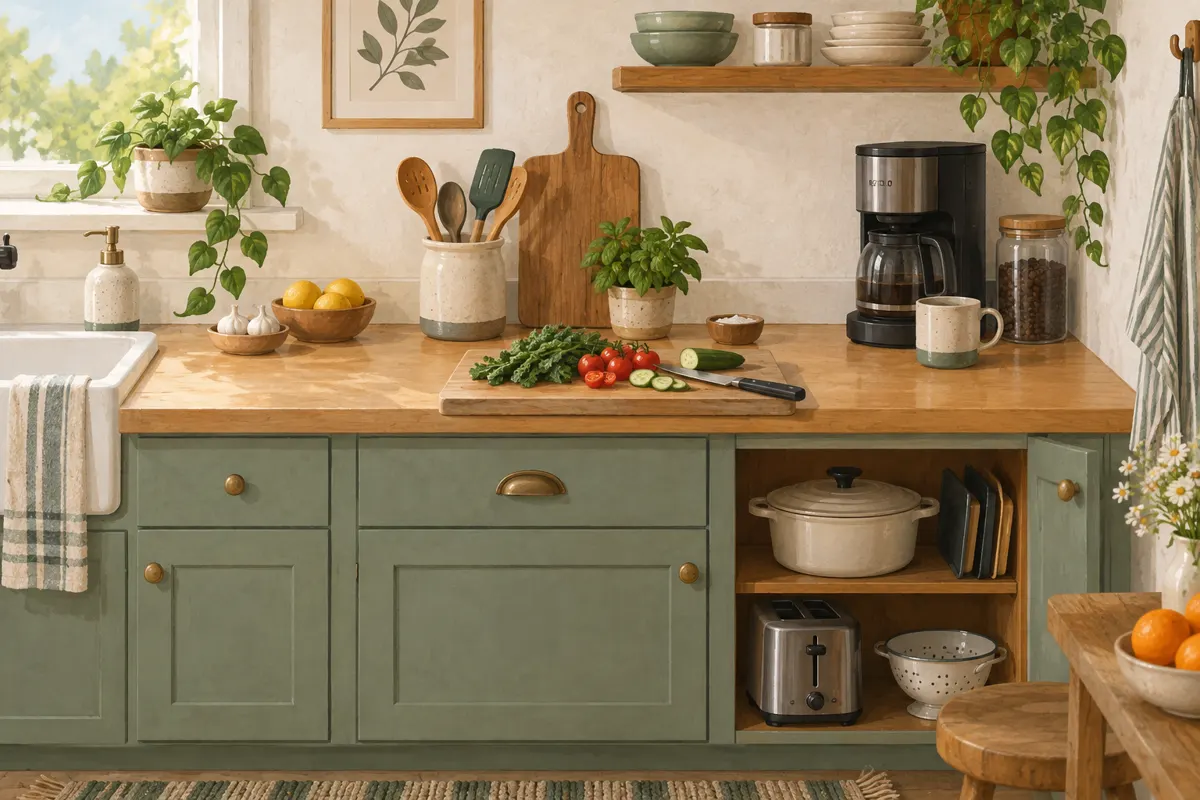
To organize a small kitchen counter, reserve one clear area for food preparation, keep only your most-used tools nearby, and move occasional appliances into accessible storage. Start with what you actually do when cooking dinner or making breakfast. The layout suggestions below are editorial proposals you can adapt to your space and routine.
Start with a clear preparation area
Choose the stretch of counter where you can comfortably place your cutting board, a bowl, and the ingredients for a meal. Treat this as working space rather than a place to display jars or park appliances. If your counter is divided into short sections, protect the most useful section first.
- Remove everything from that section and wipe the surface.
- Set down your usual cutting board and a mixing bowl to judge the space you need.
- Return only items that help with preparation and do not crowd the board.
- Give everything else a specific home in a drawer, cabinet, or another part of the counter.
Check the arrangement against an ordinary meal. Can you chop vegetables, set aside the prepared pieces, and reach your tools without moving a toaster first? If not, remove another item. An empty patch is useful storage for the work you are about to do.
Keep everyday tools near their task
Arrange the remaining items around a few everyday tasks: preparation, cooking, washing, and making drinks. These areas can be small. A coffee setup might occupy one corner, while washing supplies stay beside the sink. Avoid spreading supplies for the same task across the whole counter.
- Preparation: Keep your cutting board and frequently used measuring tools in a nearby drawer or cabinet.
- Cooking: Put a small selection of everyday utensils in a crock or an easy-to-reach drawer.
- Washing: Group soap and cleaning supplies together beside the sink.
- Drinks: Keep the coffee maker or kettle with the supplies you use each morning.
Limit any utensil crock to tools you regularly reach for. Spare spatulas, serving utensils, and occasional baking equipment can live elsewhere. Keep the arrangement easy to clean: you should be able to lift a small group of items and wipe underneath it.
Give occasional appliances an accessible home
Decide which appliances deserve permanent counter space by considering your actual routine. A coffee maker used every morning may earn its place. A blender used occasionally may be better in a cabinet. Frequency matters, but so does whether you can comfortably lift and retrieve the appliance.
Choose a storage spot you can reach without rearranging an entire cupboard. Keep attachments with the appliance in a small container, and store everything clean and dry. For heavy equipment, choose a position that allows comfortable handling; an awkward high shelf can make putting it away impractical.
When using an appliance, follow its instructions for placement and clearance. A tidy arrangement should still leave room to operate it properly. Avoid treating a crowded shelf or storage nook as an operating space unless the manufacturer's guidance allows it.
Use vertical storage selectively
A shelf riser, wall rail, or compact tiered organizer can make use of space above the counter. The supplied organizer guide includes these options, along with utensil crocks and under-cabinet spice storage. Choose one that solves a specific problem rather than adding several organizers at once.
- Use a shelf riser where you can easily reach both the items beneath it and those on top.
- Consider a wall rail for suitable tools if mounting is practical in your kitchen.
- Put a small organizer in an otherwise awkward corner, keeping the preparation area clear.
- Measure the available width, depth, and height before choosing an organizer.
Check whether cabinet doors still open and whether stored items are easy to remove. If you must lift several things to reach one jar, simplify the arrangement. Matching containers are optional; useful access is the priority.
Reset the counter after cooking
Make restoring the preparation area part of finishing a meal. Return ingredients to storage, put tools away when clean and dry, and wipe the counter. Empty the dish rack as dishes dry so it does not become permanent storage.
Give mail, keys, and bags a home outside the cooking area. If something repeatedly lands on the counter, reconsider its storage spot: it may be too inconvenient. Adjust the layout as you use it, keeping the clear preparation area as your main measure of success.